
Windows PE (WinPE) is a small operating system used to install, deploy, and repair Windows. This article I will introduce the method to install Windows from WinPE.
See the WinPE introduction from Microsoft for more details.
Download WinPE
Here I will show you 3 WinPE versions taken from Microsoft:
- WinPE 10, extracted from Windows ADK for Windows 10, version 1803.
- WinPE 8.1, extracted from Windows ADK for Windows 8.1 Update.
- WinPE 7, extracted from Windows® Automated Installation Kit (AIK) for Windows® 7.
To make it easier for users to use, I’ve added some of the applications below. Run the corresponding commands from the Command Prompt to open the corresponding applications.
- fm.lnk: Explorer++.
- 7z.lnk: 7-Zip File Manager.
- mountiso.lnk: Mount new virtual disk with ImDisk.
- winntsetup.lnk: WinNTSetup, it supports Windows XP/2003/2000 installation.
You can also use WinPE 10 built from other tools, but the WinPE version here is lighter, it requires only 512MB of memory and startup time will also be faster. I think this is the most suitable version for network boot. The size of WinPE 8.1 is 135MB for 32-bit and 170MB for 64-bit.
Download all these WinPE versions at Google Drive, Yandex Disk, Mega and Fshare.
AIOCreator.exe also supports running on these WinPE versions. If you are using a 64-bit version, run the 64-bit version of AIOCreator.exe at \AIO\Tools\AIOCreator_x64.exe.
Integration
Once downloaded, you can integrate all versions of WinPE into AIO Boot.
- Run AIOCreator.exe.
- Switch to the Integration tab, select Windows, then select WinPE 7/8.1/10 in the drop-down list.
- Select the .wim files you downloaded in turn, click OK to integrate.
- Boot into WinPE versions from the WinPE & Setup menu.
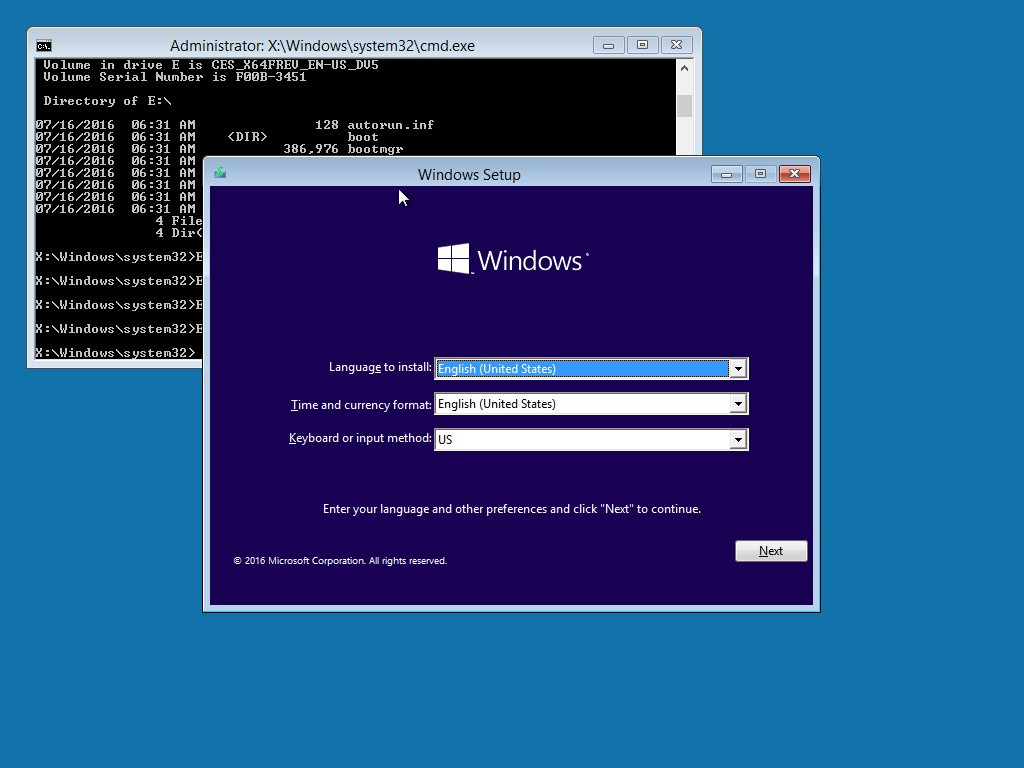
Install Windows using Setup.exe
This is the simplest way to install Windows from an ISO file. You can install Windows 7, 8, 8.1 and Windows 10 with the ISO file on your hard drive or anywhere. This method can be used on the full Windows operating system, but on WinPE, you can delete or reformat the system drive.
To install Windows on a GPT hard disk, you need to boot into WinPE in UEFI mode. To install Windows on the MBR hard disk, you need to boot into WinPE in the Legacy BIOS mode.
- Run the command fm.lnk to open Explorer++.
- Select the Windows ISO file to mount it to the virtual drive.
- Run setup.exe from the virtual drive to start the installer. Some modified ISO files have removed this file, so you can run \sources\setup.exe instead. You can not run 32-bit applications on 64-bit versions of WinPE, so you need to boot into the appropriate WinPE version. If you want to use the Repair Your Computer feature, integrate the ISO into the AIO Boot.
Install Windows using DISM
To install Windows, the first thing is to create the partition. Here I will use diskpart to do this. Then use the dism command to apply a Windows version image in \sources\install.wim to the drive. This method allows you to install Windows on a GPT disk to boot in UEFI, regardless of whether you are booting into WinPE in Legacy BIOS mode and vice versa.
Personally I only keep the data partitions, I will delete all partitions including boot and system partitions, then recreate them. If you install multiple operating systems on this hard drive, you should consider not deleting these partitions, otherwise you will need to repair the menu, or bootloader.
Delete partitions
Use the diskpart command, then use the list disk command to list all the disks on your computer.
diskpart
list disk
Select disk:
select disk disknumberList all partitions on the selected disk:
list part
Select the partition you want to delete, then use the delete part command to delete the partition.
select part partitionnumber
delete part
Create partitions
Now just create the partition under the appropriate layout. You can refer to the Microsoft documentation for the recommended partition layout for UEFI/GPT and BIOS/MBR. As in the article, boot partition or EFI partition will be assigned to drive S:. The Windows installation partition will be W:.
Apply image
After you have created the partition for the Windows installation, we will apply the image of a Windows edition to that partition. The \sources\install.wim file in the Windows ISO will contain images of the Windows edition.
Use the following command to list all editions:
Dism /Get-ImageInfo /ImageFile:H:\sources\install.wimOutput:
Deployment Image Servicing and Management tool
Version: 10.0.14393.0

Details for image : H:\sources\install.wim

Index : 1
Name : Windows 10 S
Description : Windows 10 S
Size : 15.748.508.043 bytes

Index : 2
Name : Windows 10 S N
Description : Windows 10 S N
Size : 14.682.635.068 bytes

Index : 3
Name : Windows 10 Home
Description : Windows 10 Home
Size : 15.567.580.753 bytes

Index : 4
Name : Windows 10 Home N
Description : Windows 10 Home N
Size : 14.496.690.559 bytes

Index : 5
Name : Windows 10 Home Single Language
Description : Windows 10 Home Single Language
Size : 15.569.063.438 bytes

Index : 6
Name : Windows 10 Education
Description : Windows 10 Education
Size : 15.746.024.004 bytes

Index : 7
Name : Windows 10 Education N
Description : Windows 10 Education N
Size : 14.680.122.009 bytes

Index : 8
Name : Windows 10 Pro
Description : Windows 10 Pro
Size : 15.746.775.851 bytes

Index : 9
Name : Windows 10 Pro N
Description : Windows 10 Pro N
Size : 14.680.828.085 bytes

The operation completed successfully.
From the result above, the file H:\sources\install.wim contains 9 editions, I will select the Windows 10 Pro edition (Index : 8) to apply to the W: drive.
Dism /apply-image /imagefile:H:\sources\install.wim /index:8 /ApplyDir:W:\
Output:
Deployment Image Servicing and Management tool
Version: 6.3.9600.16384

Applying image
[==========================100.0%==========================]
The operation completed successfully.
Configure boot files
To continue with the installation process, Windows needs to be booted into the W: partition above. Use BCDBoot to configure boot files. Run the following command:
bcdboot W:\Windows /s S: /f ALL
Output:
Boot files successfully created.
For MBR disks, use the Bootsect command to install Bootmgr and update the MBR.
bootsect /nt60 W: /mbrNow you can reboot to continue the installation process.
Using the dism command is more advanced, it has many features that I have not tested yet. But it is also quite complex, integrating the ISO of Windows into AIO Boot is the best way for me. Wish success!
thanks
I’m trying to install Win10Pro_x64 on a X58, so legacy MBR mode only. I went with the WinPE – setup.exe with AIO on a 2.5″ SATA HDD, I was hoping the loading speed would be faster, but it takes a long time for every step.
Anyway, after the 1st windows installation process is done on a SSD, reboot, then I didn’t get the AIO menu, but instead a windows logo, and just as installation with Rufus bios mode, STUCK. I thought the system was trying to boot from the SSD, so I went back into the bios, nothing changed, it’s still trying to load the HDD(AIO). So I changed to the SSD, and the system complains it’s not a boot drive after boot…
Assume the Windows logo was a correct step, how do I get it past on a legacy bios PC?
When I ran the option with the WINPE, it load and opens the CMD, but I can’t write anything. It’s for a MBR in Legacy. Thank you!
i cannot find iso folder…plz help me..