
Parted Magic is a complete hard disk management solution. This tutorial will show you how to install Parted Magic on a USB drive and hard drive.
Parted Magic
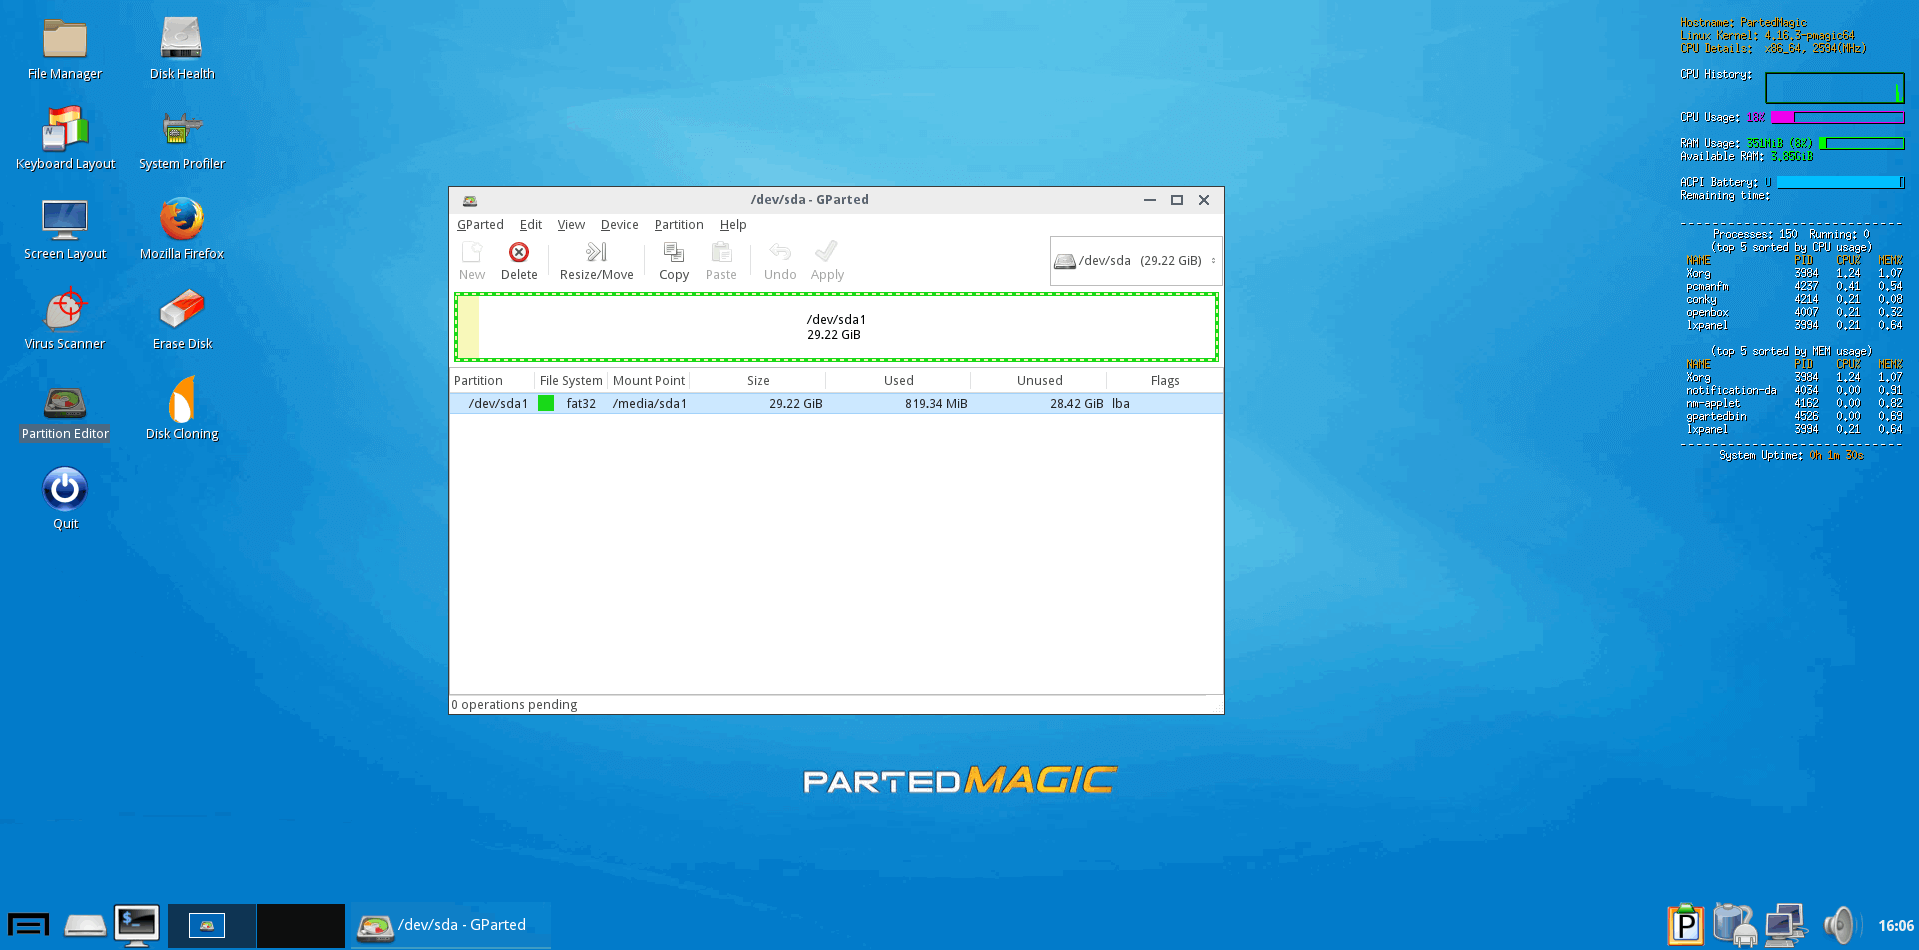
What is Parted Magic? Parted Magic is a Linux operating system, it has many built-in tools to help you do many things.
You can use Parted Magic to:
- Disk Partitioning: with the Partition Editor (GParted) you can re-size, copy, and move partitions.
- Recover files.
- Erase Disk (SSD, HDD…).
- Clear or change the Windows account password.
- And much more.
See also this page for more details as well as how to use Parted Magic.
Download ISO file
Parted Magic is not free, you can download its ISO file at the link above. The file name for version 2018_08_06 is pmagic_2018_08_06.iso. It includes both 32-bit and 64-bit versions, supporting both UEFI and Legacy.
Install Parted Magic on a USB or HDD
Once you have downloaded the ISO file, you can burn it to a CD/DVD for use. But using USB or HDD would be better. By using AIO Boot, you can install multiple versions (multiple ISO files) of Parted Magic in the same USB drive or hard drive.
Here are the steps:
- Install AIO Boot, you can install it on a USB drive or hard disk as you like.
- Run AIOCreator.exe, switch to Integration. Then select Linux and Parted Magic in the drop down list.
- Click the “…” button and select the ISO file you downloaded.
- Click the OK button and wait for the process to finish.
Now you can restart the computer and boot Parted Magic from your USB or your hard disk. If you later want to update a new version, you can delete the current version in the Menu Editor, then repeat the steps above to integrate the new ISO file.
Boot from Grub2 and Grub4dos
If you have Grub2 or Grub4dos installed on your USB or hard drive, you can add the following code to boot directly from the ISO file.
menuentry "Parted Magic" {
	set iso_path="/pmagic_2018_08_06.iso"
	search --set -f $iso_path
	loopback loop ${iso_path}
	set root=loop
	if cpuid -l; then
		set _kernel="/pmagic/bzImage64"
		set _initrd="/pmagic/m64.img"
	else
		set _kernel="/pmagic/bzImage"
		set _initrd="/pmagic/m32.img"
	fi
	linux	$_kernel edd=on vga=normal iso_filename=${iso_path}
	initrd	/pmagic/initrd.img /pmagic/fu.img $_initrd
}
Grub4dos:
title Parted Magic
set iso_path=/pmagic_2018_08_06.iso
find --set-root %iso_path%
map %iso_path% (0xff) || map --mem %iso_path% (0xff)
map --hook
root (0xff)
set _kernel=/pmagic/bzImage
set _initrd=/pmagic/m32.img
checkrange 2,3 is64bit && set _kernel=/pmagic/bzImage64 && set _initrd=/pmagic/m64.img
kernel	%_kernel% edd=on vga=normal iso_filename=%iso_path%
initrd	/pmagic/initrd.img /pmagic/fu.img %_initrd%
Also, you can boot Parted Magic via PXE, see /boot/pxelinux/pm2pxe.sh. Currently, AIO Boot does not support this. Good luck!
“Also, you can boot Parted Magic via PXE, see /boot/pxelinux/pm2pxe.sh. Currently, AIO Boot does not support this. Good luck!”
I didn’t find a quick answer to this, so here is my solution that I’ve tested to be working. I haven’t done a deep dive into the AIO scripting for the menu logic, so there may be a more ‘correct’ way of doing this:
–Download the PXE version of Parted Magic, extract the contents (pmagic_pxe_[yourversion].tar.gz\pmagic_pxe_[yourversion].tar\pmagic\) with 7zip to [boot disk]/AIO/Files/Linux/pmagic
–Edit menu.ipxe on your boot drive under the AIO folder and add this to the linuxlive menu:
item PartedMagic Parted Magic [yourversion]
–Above ###add new menu content for Linux OS add these lines:
###Start PartedMagic
:PartedMagic
set path_file /Files/Linux/pmagic/
cpuid –ext 29 && set arch 64 || set arch 32
initrd ${boot-url}${path_file}initrd.img
initrd ${boot-url}${path_file}fu.img
initrd ${boot-url}${path_file}m${arch}.img
initrd ${boot-url}${path_file}files.cgz
chain ${boot-url}${path_file}bzImage${arch} initrd=initrd.img initrd=fu.img initrd=m${arch}.img initrd=files.cgz
boot || goto failed
goto start
###End PartedMagic
–Save. Parted Magic should now appear in the menu and boot. There is no boot menu in the PXE version, the version is automatically chosen.
–For those having additional trouble, here is a snippet of the entire livelinux menu:
################################# Start livelinux
:livelinux
menu Linux OS
item PartedMagic Parted Magic 2019-Jan-03
### add new menu for Linux OS, dont edit this line
item back Back to top menu…
iseq ${menu-default} menu-recovery && isset ${submenu-default} && goto menu-recovery-timed ||
choose selected && goto ${selected} || goto start
:menu-recovery-timed
choose –timeout ${submenu-timeout} –default ${submenu-default} selected && goto ${selected} || goto start
###Start PartedMagic
:PartedMagic
set path_file /Files/Linux/pmagic/
cpuid –ext 29 && set arch 64 || set arch 32
initrd ${boot-url}${path_file}initrd.img
initrd ${boot-url}${path_file}fu.img
initrd ${boot-url}${path_file}m${arch}.img
initrd ${boot-url}${path_file}files.cgz
chain ${boot-url}${path_file}bzImage${arch} initrd=initrd.img initrd=fu.img initrd=m${arch}.img initrd=files.cgz
boot || goto failed
goto start
###End PartedMagic
### add new menu content for Linux OS, dont edit this line
################################# End livelinux
After I used the AIO to integrate parted-magic into my pan-driver, I selected memtest in the parted magic menu, it can not be used.
Is it possible to fix this problem?
Thank you very much.
Because you are booting in UEFI mode, memtest only works on Legacy mode.
Hi Tu Nguyen,
Thanks for you reply.
However, when I burn the parted-magic iso into Pen-Drive alone, in the UEFI mode, there are x86 and x64 version of memtest.
In the legacy mode, there is only x86 version of memtest.
And all of them can work.
After I used the AIO to integrate parted-magic into my pan-driver, in UEFI mode, the error message is “not a valid root device”, and in legacy mode, the error message is “invalid signature”.
Can you check this issue again?
Thank you very much.
Hi Tu Nguyen,
Can you see the following video?
Test RAM with MemTest86, now with UEFI support!
https://youtu.be/tUUTS674RgQ
Thanks for your great effort~
Menu Editor: when we delete an entry does its source file get deleted as well?
for example, If I deleted PartedMagic of the grub2 menu, what happens to its file at /AIO/Files/Disk/PartedMagic.iso?
The files on the drive will be deleted to free up space.