
WubiUEFI is an Ubuntu installer on Windows. This article will guide how to install Ubuntu on USB with WubiUEFI. Once installed on USB, we can boot and use Ubuntu on different machines.
Referring to Wubi, I suddenly feel old, Ubuntu 12.04 is the first version that I installed using Wubi. Wubi is now deprecated, WubiUEFI is currently under development and supports the latest Ubuntu versions.
As far as I remember, Wubi only supports Legacy BIOS mode, it adds an entry for booting the wubildr.mbr file from Windows Boot Manager. WubiUEFI supports UEFI mode, it adds an entry to the EFI NVRAM for booting an EFI file from the /EFI/ubuntu/wubildr directory. In this article, I will show you how to boot the root.disk file that WubiUEFI created from USB for portable use.
Requirements
The default AIO Boot NewGen comes with Grub2 pre-installed, if you are using an exFAT partition and it is not supported by WubiUEFI, format it to NTFS or create a new partition.
- USB with Grub2 installed. The scope of this article does not cover how to install Grub2.
- USB has an NTFS partition, I did not try with exFAT.
- It is recommended to take 10 minutes to watch the video and read the steps in this article carefully.
Create Ubuntu installation files
First we have to download WubiUEFI, the latest supported version is Ubuntu 22.04.1. Ubuntu version 22.04.2 has just been released, the link to version 22.04.1 is now broken so the tool cannot download files for the current version it supports. I think the tool will be updated soon to support the latest Ubuntu version. In this article, I use Wubi for Ubuntu 20.04.4.
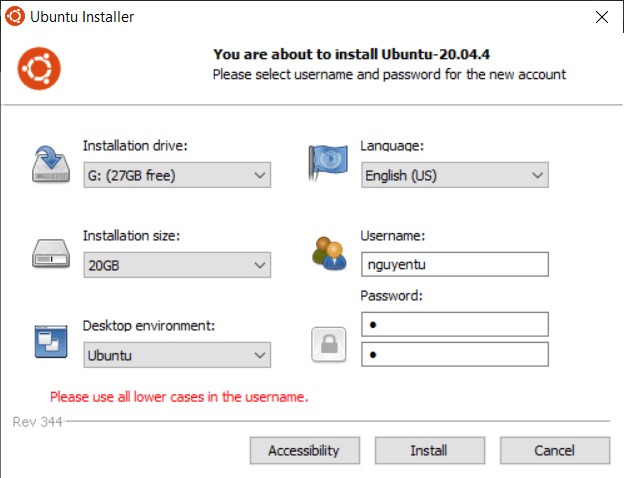
By default, the tool will automatically detect ISOs in the same folder, if nothing is detected, it will download files from the Internet. It also supports specifying an ISO file, see the FAQ section.
- Installation Drive: the tool will create files in the root directory of this drive. If using for portable purposes, choose a USB drive.
- Desktop Environment: I choose Ubuntu, currently Lubuntu does not show installation window and progress bar.
- Username: enter the username in lowercase.
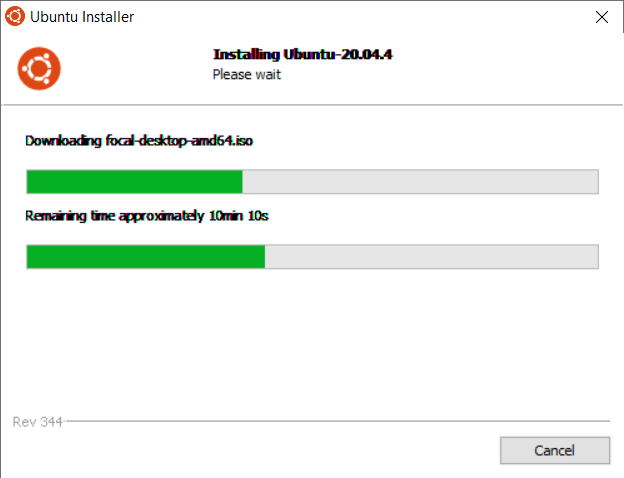
When you have completed the options, click Install. It will take longer to download files from the Internet.
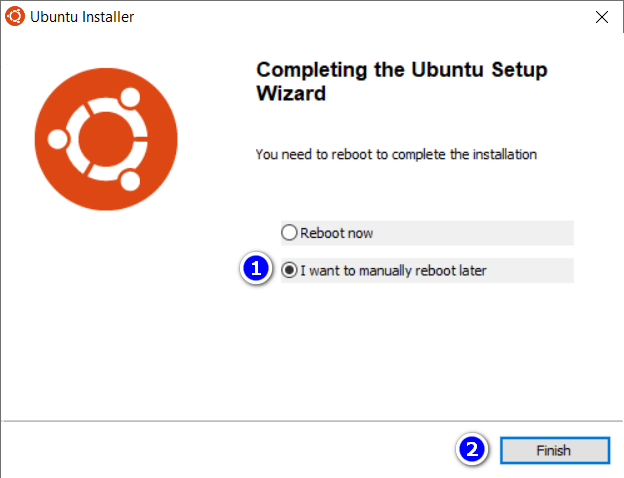
In this window, just click the Finish button, no need to restart the machine.
Now look at the drive you selected in the step above. There are two files and a folder created in the root folder.
- ubuntu: this folder contains the ISO file, preseed.cfg and other configuration files.
- \ubuntu\disks\root.disk: this is an ext4 formatted partition image. Ubuntu will be installed in this file.
- wubildr: this file is extremely important, the
grub-installcommand will not install files to the EFI partition and will not add an entry to the EFI NVRAM if thelupin-supportpackage is installed. But provided the wubildr file must exist on the drive. - wubildr.mbr: I guess this file is used for booting from Windows Boot Manager in Legacy BIOS mode.
- There is also a /EFI/ubuntu/wubildr directory created on the ESP partition.
Now proceed to delete the entry that the tool has added to the EFI NVRAM and the files on the ESP partition. But the wubildr file and the ubuntu folder must be kept.
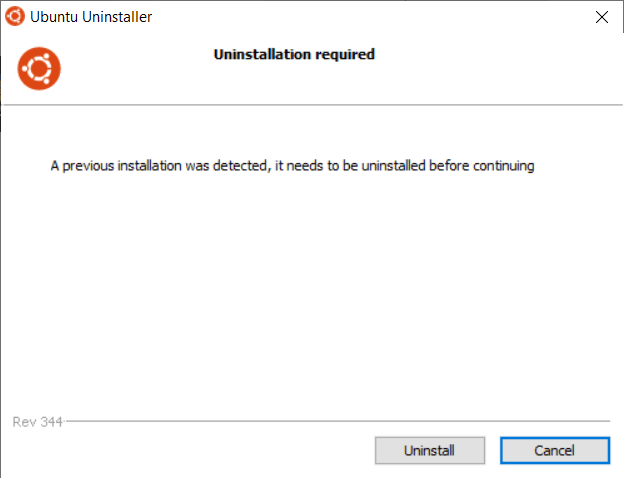
Run wubi.exe again, you will see Uninstall button but don’t do anything. We need to keep the necessary files by renaming them or moving them somewhere else first.
I will choose to rename:
ubuntu -> _ubuntu
wubildr -> _wubildr
wubildr.mbr -> _wubildr.mbr
Now click Uninstall button to uninstall the entry and files on the ESP partition.
Next is to rename the files back:
_ubuntu -> ubuntu
_wubildr -> wubildr
_wubildr.mbr -> wubildr.mbr
Add Grub2 entry
WubiUEFI uses Grub2, if your USB has Grub2 installed then just add an entry by adding the following code to the configuration file:
### BEGIN WubiUEFI
menuentry 'Ubuntu WubiUEFI' {
	search -f -s wubidev /ubuntu/disks/root.disk
	if [ -n "$wubidev" ]; then
		loopback rootdisk ($wubidev)/ubuntu/disks/root.disk
		if test -f (rootdisk)/boot/grub/grub.cfg; then
			set root=rootdisk
			set prefix=/boot/grub
			configfile /boot/grub/grub.cfg
		else
			loopback -d rootdisk
			if test -f ($wubidev)/ubuntu/install/boot/grub/grub.cfg; then
				set root=$wubidev
				configfile /ubuntu/install/boot/grub/grub.cfg
			fi
		fi
	fi
}
### END WubiUEFI
For those who are using AIO Boot NewGen, create the file /AIO/Menu/custom.cfg then add the above code.
Now just boot into Grub2, select the added entry to start the installation process. Everything will happen automatically until the machine reboots.
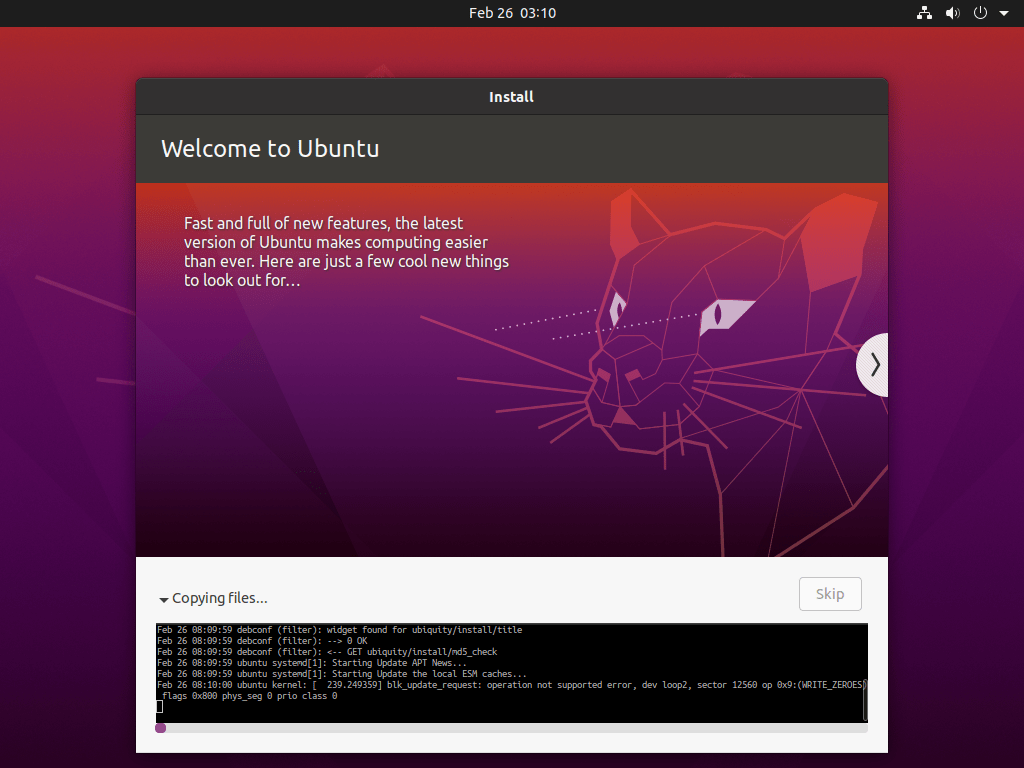
The computer will automatically restart after the installation is completed. You can use this Ubuntu environment like a normal Ubuntu environment installed on a real partition, be careful not to remove the lupin-support package.
Some notes if you want to boot and use Ubuntu on many different machines:
- Do not install or configure Drivers specific to any machine at all.
- Do not mount any partitions or paths on another disk to /etc/fstab.
- For automated scripts, do not use /dev/sda, /dev/sdb, use /dev/disk/by-uuid or /dev/disk/by-id instead.
Move ubuntu folder to another drive
The UUID of the partition containing the root.disk file is specified in the /boot/grub/grub.cfg file. We need to boot into Ubuntu first from this entry:
### BEGIN WubiUEFI
menuentry 'Ubuntu WubiUEFI (run sudo update-grub)' {

	insmod gzio
	insmod ntfs

	search -s -f -n /ubuntu/disks/root.disk
	probe --set=diskuuid -u $root

	loopback loop0 /ubuntu/disks/root.disk
	set root=loop0
	linux	/boot/vmlinuz root=UUID=$diskuuid loop=/ubuntu/disks/root.disk ro rootflags=sync  quiet splash $vt_handoff
	initrd	/boot/initrd.img
}
### END WubiUEFI
Run the following command:
sudo update-grub
If the above command does not exist, try running the following commands (for 32-bit, replace grub-efi-amd64 with grub-efi-ia32):
sudo apt update
sudo apt install grub-efi-amd64
sudo update-grub
If the above command succeeds, the file /boot/grub/grub.cfg will be updated, so boot using the previous entry.
Feel free to use emoticons for your reaction or a star for the repo. The goal of the project has never been to get other financial donations.
The project will continue as long as we have time to maintain it and there are a lot of people who use it.
Finally, if you find WubiUEFI useful, please contribute in this way so that this project continues to grow.